Using the visual Workflow Builder
Build a sequence of actions, test its decisions and inspect the runs after activation.
Needs: Workflows module
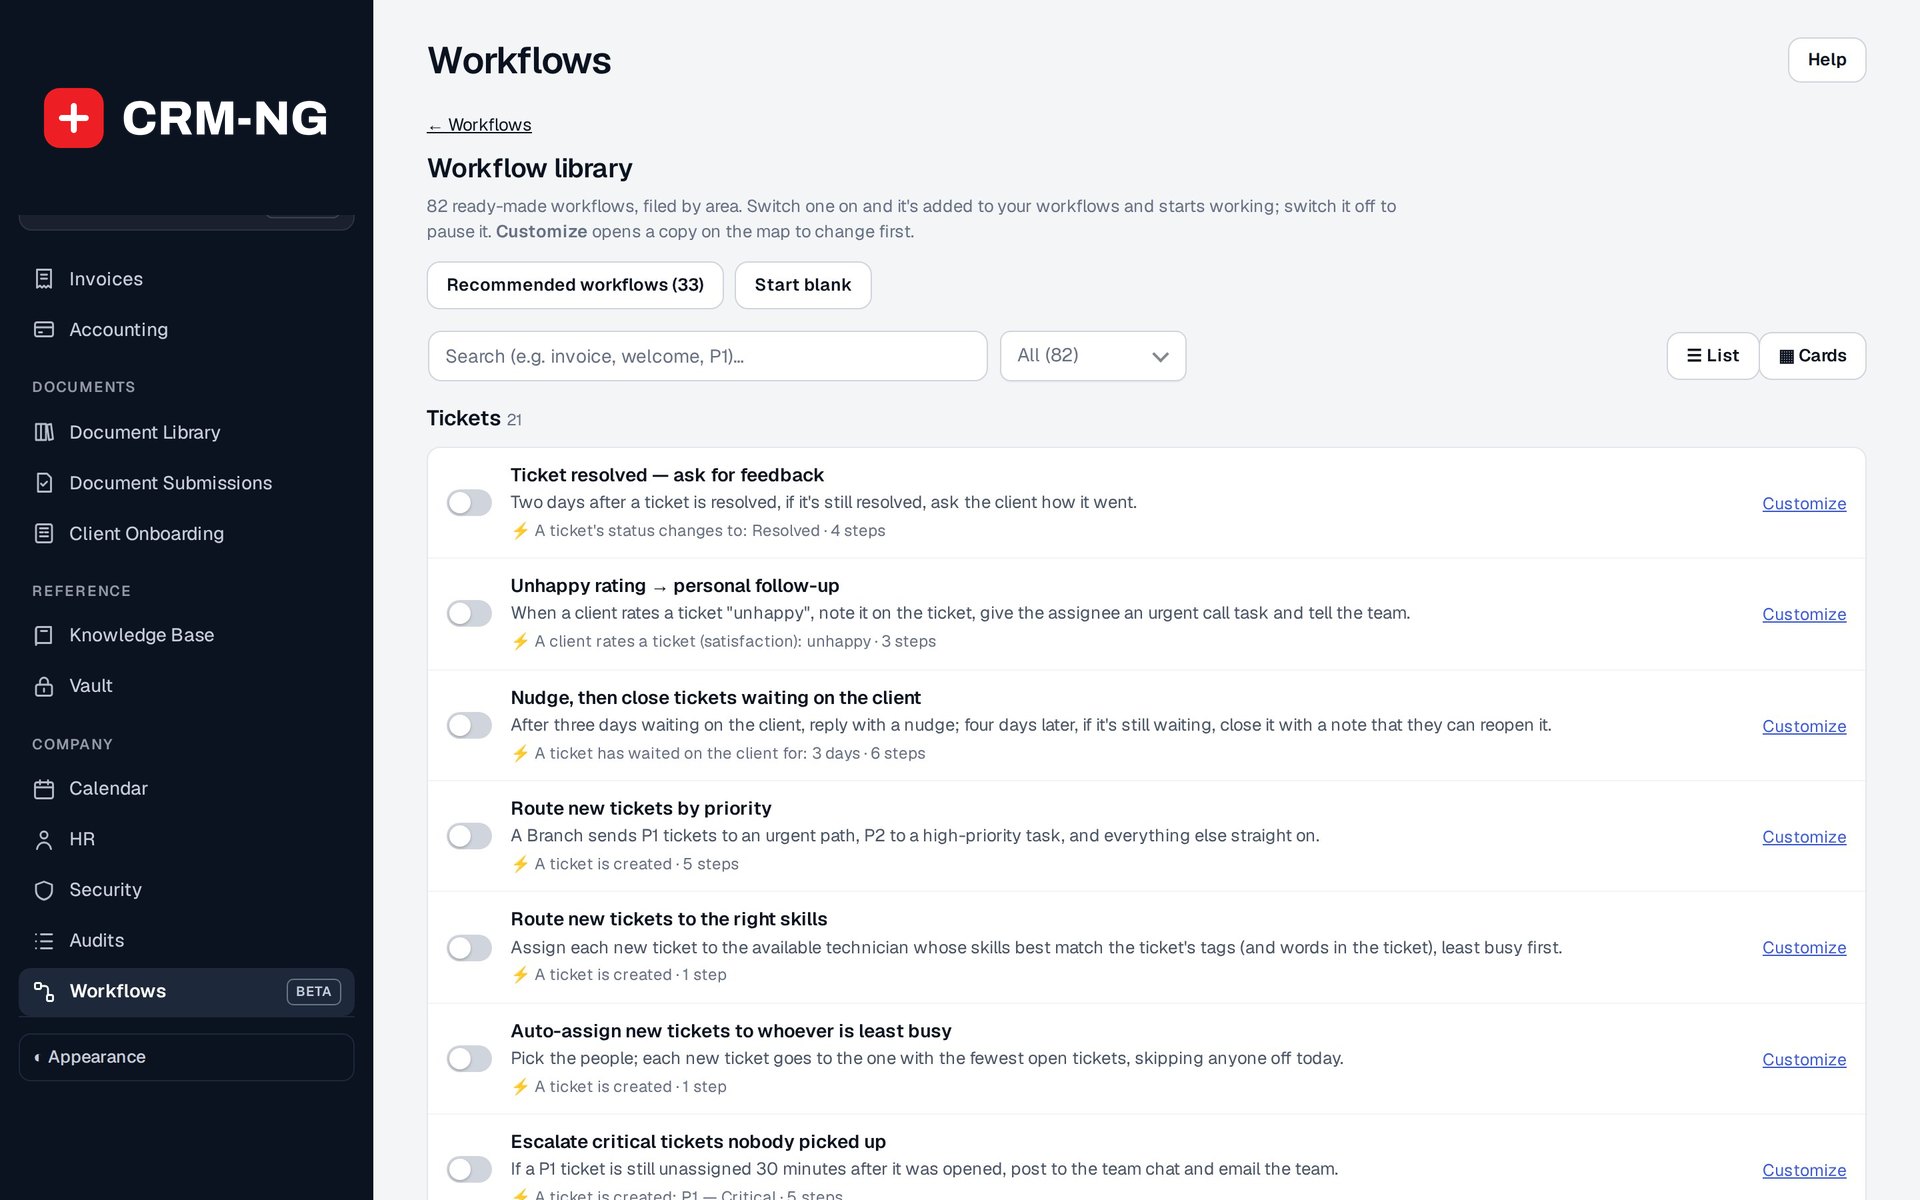
The workflow library offers ready-made workflows by area; each can be switched on, or customised first. None was switched on for this screenshot.
The visual builder connects steps into a process. For example, a new-client flow might send a welcome message, wait for a response and create a task if the next step is still incomplete.
Start from the library
The Workflow library has more than 120 ready-made workflows, filed by area: tickets, clients and leads, deals and estimates, billing, work, projects, HR, bookings, assets, forms and campaigns, Growth & retention (surveys that show why you win and lose clients), nurture emails, Onboarding, and schedules and webhooks. Search them, or show only the recommended ones, those switched on, or those not added yet.
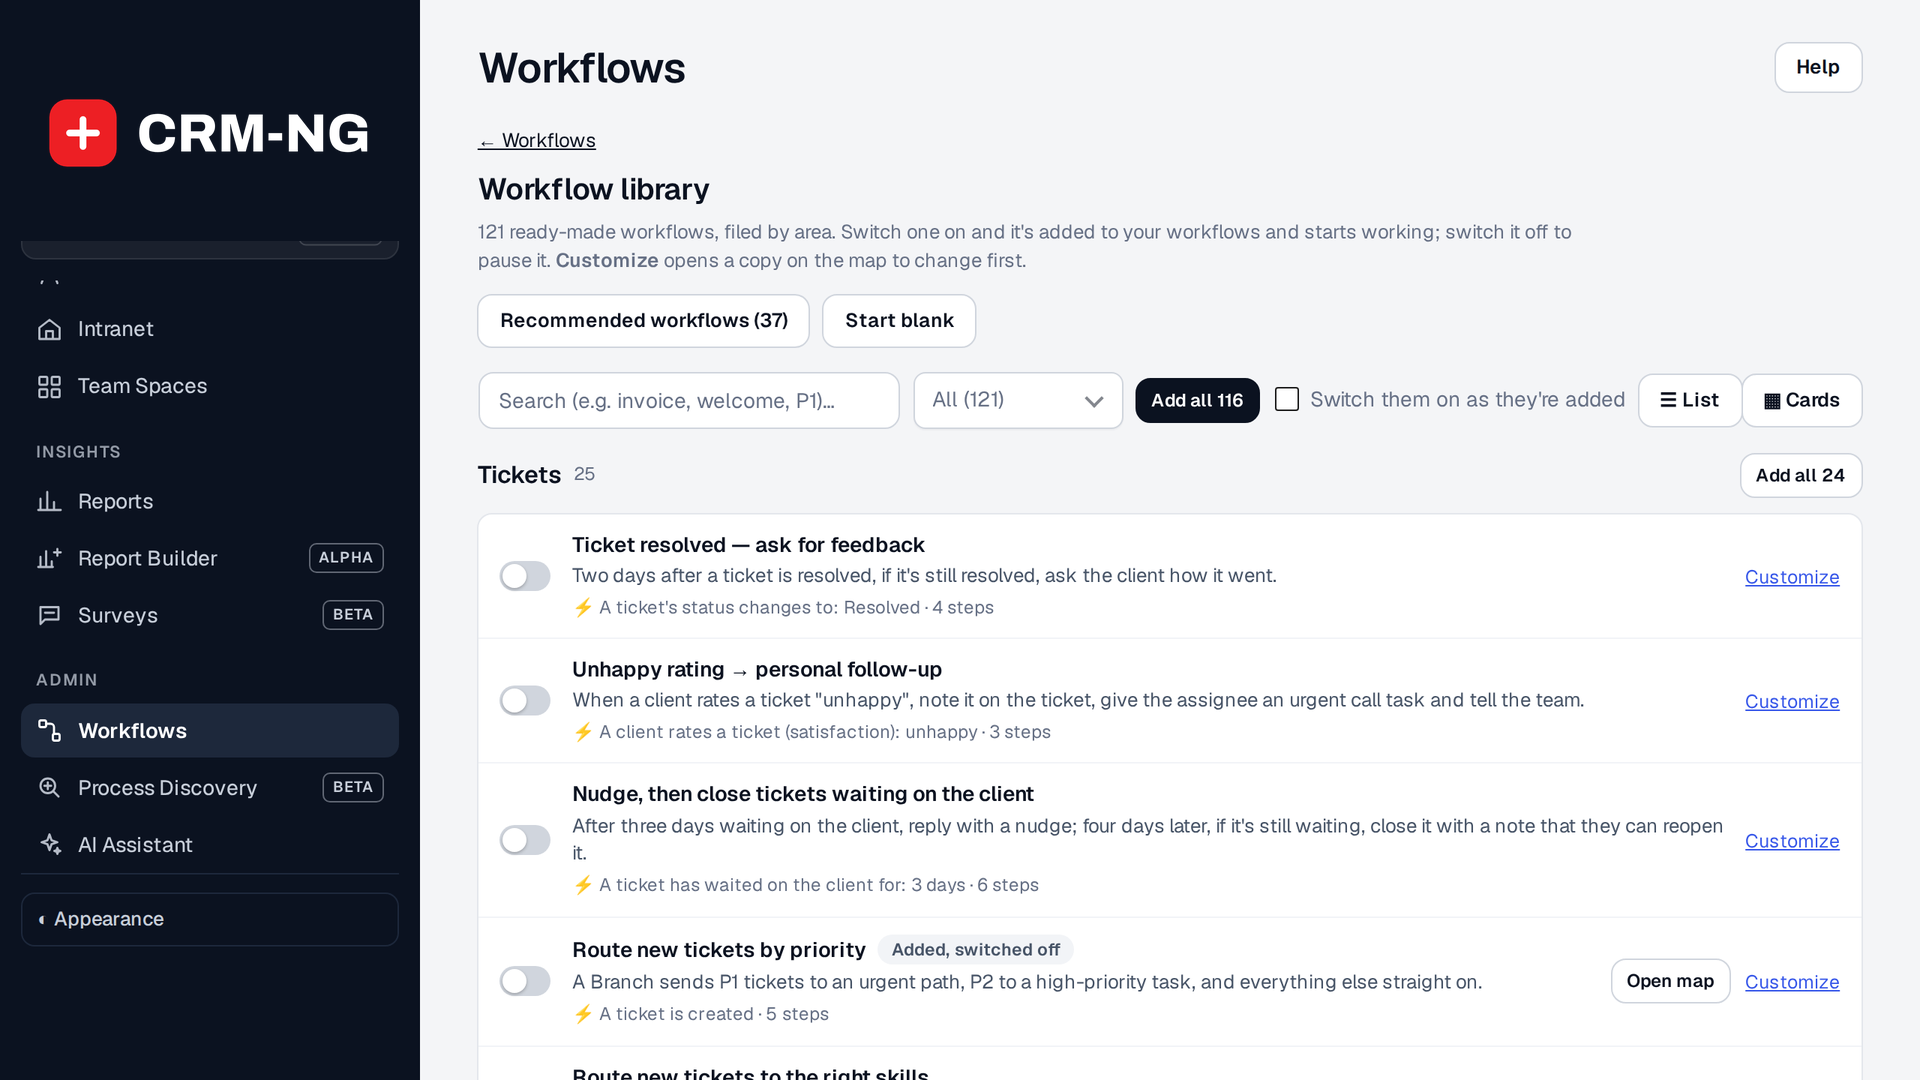
The Workflow library: every ready-made workflow by area, with Add all for an area or the whole library.
Switch one on and it is added to your workflows and starts working; Customize opens a copy on the map to change first. Add all on an area, or at the top for the whole library, adds every workflow not added yet. They arrive switched off unless Switch them on as they're added is ticked; even then, one that would start straight away for records that already match, or that needs something filled in, stays off for you to check.
Create and test a flow
- Create a flow and name it for the result it should produce.
- Choose the entry trigger, value and conditions.
- Set whether a record may enter once ever, after its previous run finishes or every time the trigger occurs.
- Add the action and control steps. Check which record each step will use, particularly after a step creates another record.
- Run a dry test with a representative record and read the decisions and intended actions. A dry test does not send messages or change records.
- For scanned triggers, review whether activation will enroll records that already match.
- Activate the flow, trigger a controlled example and inspect Runs and Stats.
Choose the control steps
| Step | Behavior to review |
|---|---|
| Wait | Duration, date, weekday/time, business-hour or record-date offset |
| Wait until | Recheck a condition until it matches or reaches a timeout |
| If / else | Choose one of two paths based on conditions |
| Branch | Evaluate up to six condition paths plus an otherwise route |
| Split | Distribute among two to four weighted paths |
| Goal | Wait for a qualifying event on the relevant record/client, with timeout behavior |
| Note | Explain the design for maintainers |
| End | Finish the current path |
A weighted split distributes runs over time; a small test sample may not match its percentages exactly. A Goal checks for the qualifying event on the relevant record or client, so verify which event it is waiting for.
Check the records used by actions
Actions can send messages, add tasks, change fields, route tickets, create deals or draft invoices, and carry out supported project operations. After an action creates a record, later steps may be able to use that new record.
Use the test result to confirm the target of each step before enabling a process that changes several kinds of records. After editing a live flow, inspect existing waiting runs as well as new ones. The operation chapter explains schedules, re-entry and troubleshooting.
The screenshot shows the production template gallery. Choosing a template and activating a flow are separate actions; neither was carried out for that capture.